Summer Swim Project 2022

At the start of 2022 we took a number of applications from swimmers looking to start swimming front crawl ie. they had no previous experience of front crawl swimming. We ended up selecting 2 swimmers. Both female, aged between 30-40 years. Over a series of 6 sessions head coach Tom went through a number of different sessions, teaching different elements of the stroke, setting ‘homework’ and supervising a couple of mid-distance swims. We then charted the swimmers progress over the summer.

The aim of the documentary is to highlight how much progress can be made with swimming, particularly in the sea (with the additional buoyancy), over a relatively short space of time.

The sessions (roughly), started with breathing, going onto look at body position and leg kick, then arm pull and catch and some time and sessions to then put it all together…

Poor hip position

Hip position is an incredibly important part of swimming front crawl. If you drop your hips too low in the water it can force your head into a higher position and you have increased drag…as well as a reduced efficiency when it comes to your leg kick. This unfavourable position may also have the knock on effect of making it more difficult to rotate the body correctly.

The solution to a low hip position can be incredibly easy or not so. It really depends on the swimmer. Typically the quicker and more experienced the swimmer, the easier (in theory) it might be to correct.

The main thing to remember is that although you should be fairly relaxed when swimming, you still need a degree of tension running through your core, as well as your toes pointed and legs straight. We often say that your legs are fairly redundant in open water swimming and some of our clients barely kick at all (in the open water). That said, you still need your legs straight, toes pointed and feet together. You can’t simply forget about your legs.

FIRST : if you’re in the pool or fresh water (without a wetsuit) grab in kick float and hold the float with your hands, at the very back end of the float ie. only your hands are in contact with the float, not the whole of your forearm. You simply then want to carry out some leg kick, with your face in the water. You can do this with just goggles but it works better if you use a snorkel. Water level should be half way across your ears, with your bum just sticking out of the water and your heels just breaking the surface of the water.

If you’re in salt water / wearing a wetsuit, lie on your front in the water, face down. Have your arms full extended, stretching out in front of you, with your legs straight and toes pointed and together (feet touching). In a very streamlined position. Allow the water to hold your weight….and hold it for 10 seconds. This is the position you should be swimming in. Have a conscious think about how this position feels and where your body is in the water. If you’re swimming and your body position differs from this - stop, float yourself in the water (as described above) and then start swimming again. Stop as often as necessary.

Raising your hips in the water (provided you need to) can be as easy as simply thinking about it and consciously doing it! It’s not that easy however, for most. Here are some drills that might help :

DRILLS :

  1. complete a series of 25m swims, on your back, arms out in front (flat on the water), swimming flat across the surface of the water. Your going to do fly kick on your back. It’s good to do these with swim fins. Start with shorter distances and build up. You should find this works the abs and core.

  2. Kick board (face in the water), with snorkel…as described above.

  3. Vertical kick efforts (as often featured in our newsletter). CLICK HERE for video.

  4. Work the arms. You can use pull buoys as part of training and can also use a pull buoy with your ankles strapped together with a swimming band.

  5. As well as distance, include shorter sprints into your training.

Swimming Course at the Jubilee Pool

We recently ran a 4 week course at the Jubilee Pool. We looked at water safety and rip currents at the beach, the theory behind breathing, arm pull and recovery, body roll, head position, leg kick….we then ran a practical in the pool. The lady featured in the video had never swum front crawl - this was week 3. Not everyone progressed this quickly but we were really happy with all the progress that the participants made.

We’ll look to run further courses like this one over the summer.

Starting out in open water swimming and front crawl.

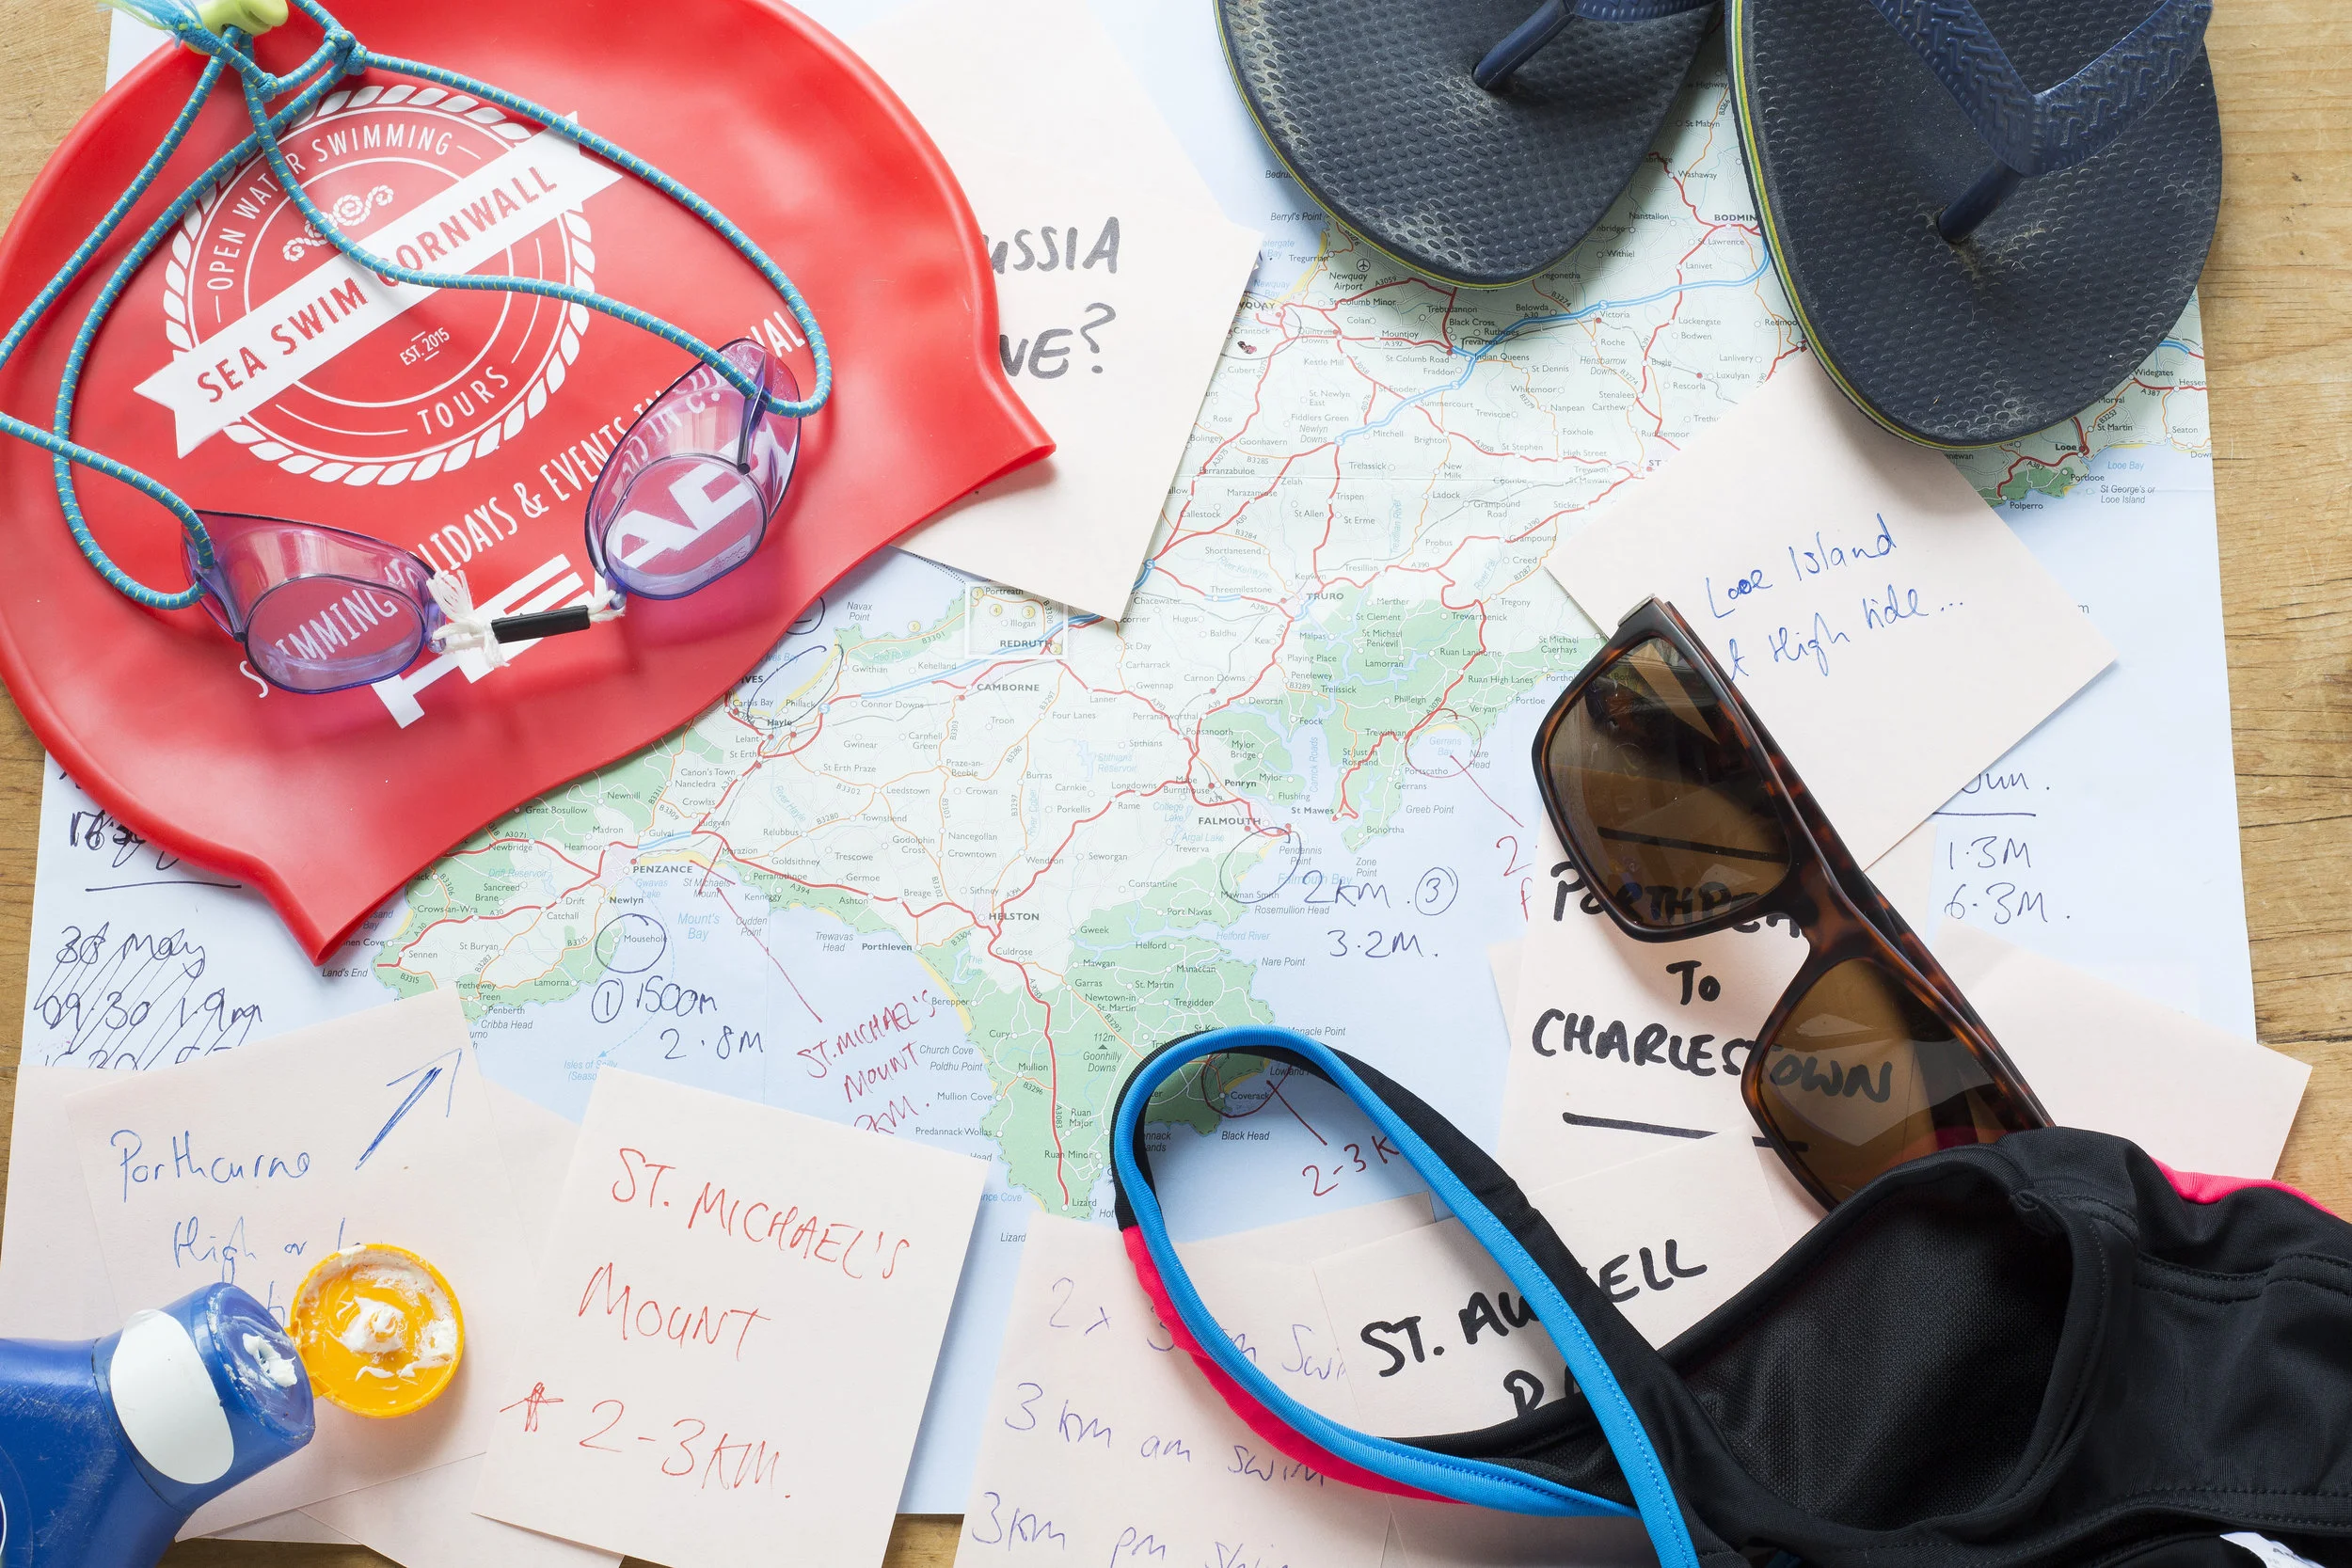
With a massive rise in wild swimming, dipping and open water swimming we thought we’d write a little piece on improving your swimming…taking the first few steps from bobbing around in the water, bit of breaststroke or limited front crawl - to swimming front crawl…and increasing your distances.

FACE AND BREATHING : if you’ve just started in the open water, getting your face in is step one. Make sure you wear a swimming cap, you can wear 2 if it’s really cold and a decent pair of goggles. By decent, I don’t mean expensive. Everyone has a different shaped face and not all goggles will suit everyone. Sometimes it’s a case of trial and error. Also, wear ear plugs or something to stop you getting ‘surfers ear’. Best place to start is to simply take a breath, put your face in and slowly expel the air, before bringing your face out and taking another breath. You shouldn’t bring your face out and breath out. The breathing out section should be completed underwater. Repeat. Whilst swimming some people breath in and then expel the water when their face goes in quite quickly, some breath out consistently until their face comes out for another breath…it’s an individual thing.

FRONT CRAWL STROKE : once you’re comfortable breathing in the water, you can then look to put your breathing and stroke together. I’d suggest starting off by focussing on the relationship between your arm strokes and breathing and getting comfortable and efficient with this part of your stroke. In salt water or with the assistance of a wetsuit you’re nice and buoyant. So initially it’s nice and easy to take your leg kick out of the equation. Simply put your ankles together and let your legs float behind you. I say this because it’s almost impossible to focus on your arms, breathing and leg kick at the same time. It’s like trying to ride a unicycle, whilst juggling and having a conversation!

LEGS : Once you feel like you’re making progress and you’re not having to put too much thought into what you’re doing, you might then consider adding leg kick to the mix. Leg kick is one of the most difficult parts. It’s not difficult to kick your legs…it’s having an efficient kick that’s the tricky bit. When coaching 90% of the issue we try and correct are poor leg kicks. Your legs will use a lot of oxygen and if you’re not kicking efficiently you don’t get any propulsion. Which isn’t great. You’ll also be deprived of oxygen, which in turn will slow you down over distance and increases fatigue. The other issue is for runners. Leg kick is all about the flexibility in your ankles. Runners notoriously have stiff ankle and often really struggle with leg kick. Your kick should be short and sharp - with the most important bit being that your ankles should be together, with heels just breaking the surface of the water.

DISTANCE : start with short bursts and get it right over those bursts. Have regular rest intervals. Once you feel like your getting it right over shorter distances start to extend the distances that you’re swimming.

COACHING : the most cost effective way to get coaching would be to follow the advice above and once you’re swimming take yourself to see a coach. If you want to swim in the sea, have an open water swim coaching session. If you want to swim in the pool….a pool session. If you want to do both I’d complete a pool coaching session. Think about the area that’s most important to you.

You can see a coach at the very start. It’ll help but will be a little more expensive.

Your coach should give you drills to take away and practise. It’s also really helpful to know where you’re going wrong as you can then visit Youtube and look at drills to correct the issues and do your own homework. The best place to practise drills is in the pool but you won’t have the buoyancy in the pool, that you typically have in salt water/wearing a wetsuit. The salt water is also more forgiving with your stroke, so some problems won’t be as visible in the salt water, as they would in the pool. A low hip position, for example may be hidden by the buoyancy salt water provides.